-
-
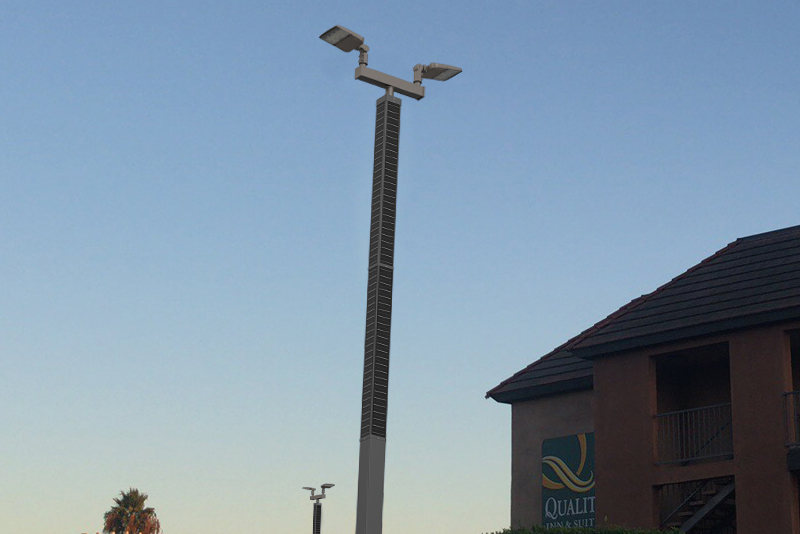
Vertical Solar PV Poles
-
Square Shape Vertical Solar PV Poles
Round shape vertical Solar PV poles
Vertical Solar PV Poles
-
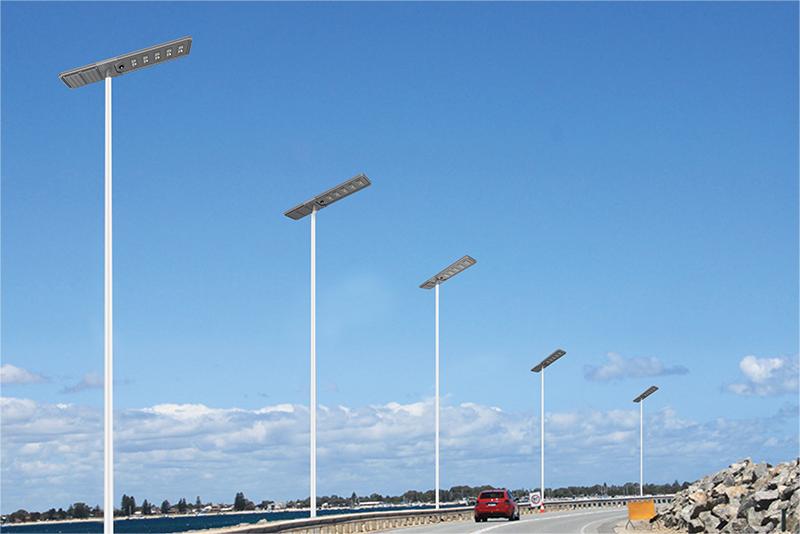
Solar Street Lights
-
16-20M Four-lane Road LED Solar Street Light
7-8M Two-lane Road LED Solar Street Light
3-5M Single Lane LED Solar Street Light
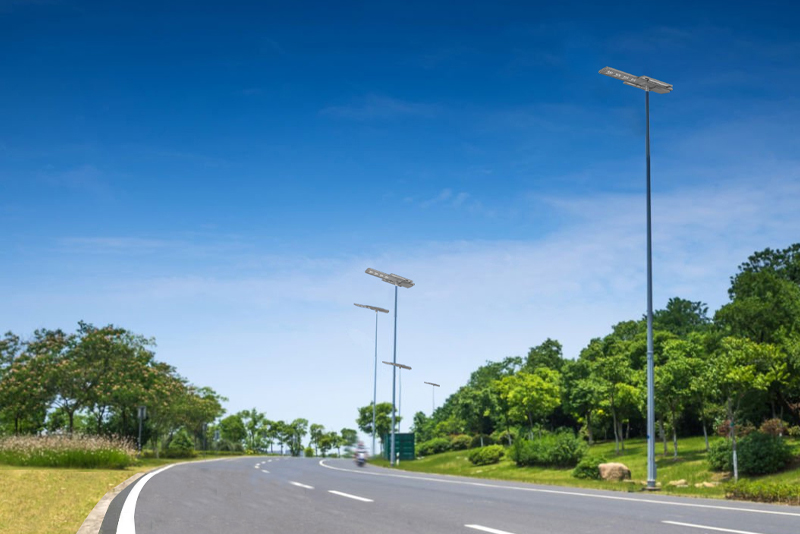
Solar Street Lights
-
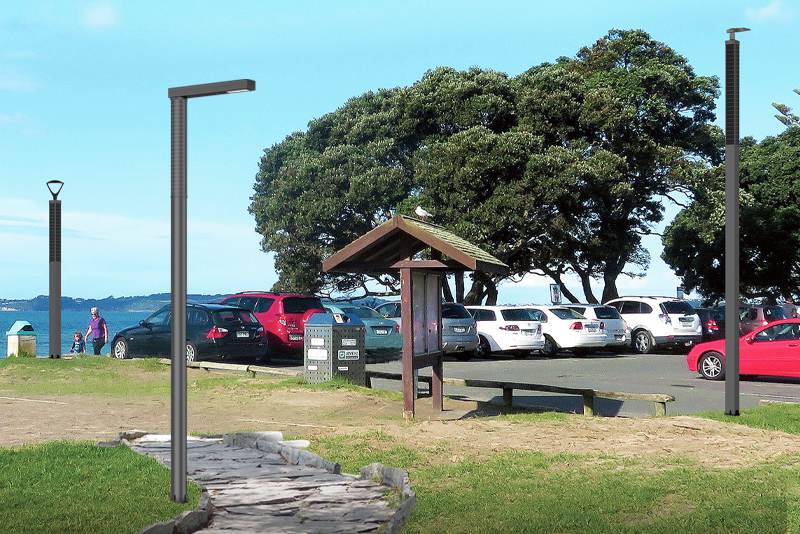
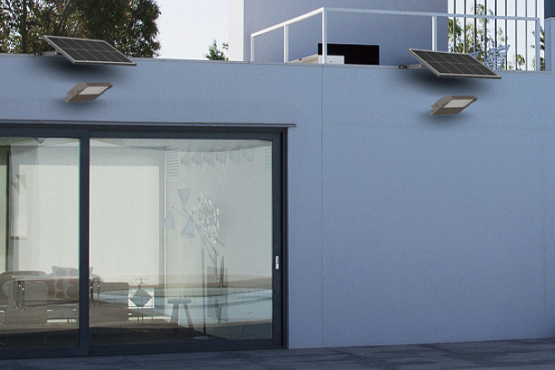
Solar Garden Lighting
-
Solar Garden/Landscape/Security Lighting Series

Solar Garden Lighting
-
Solar Light Tower
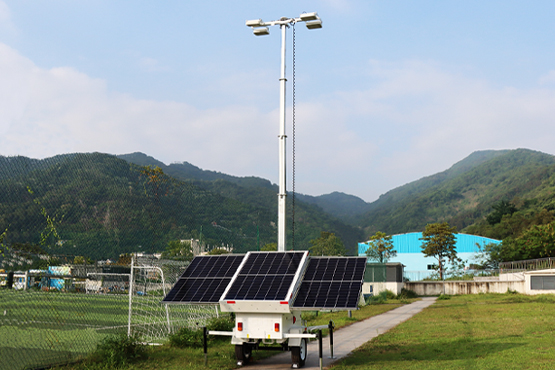
Solar Light Tower
-
-
-
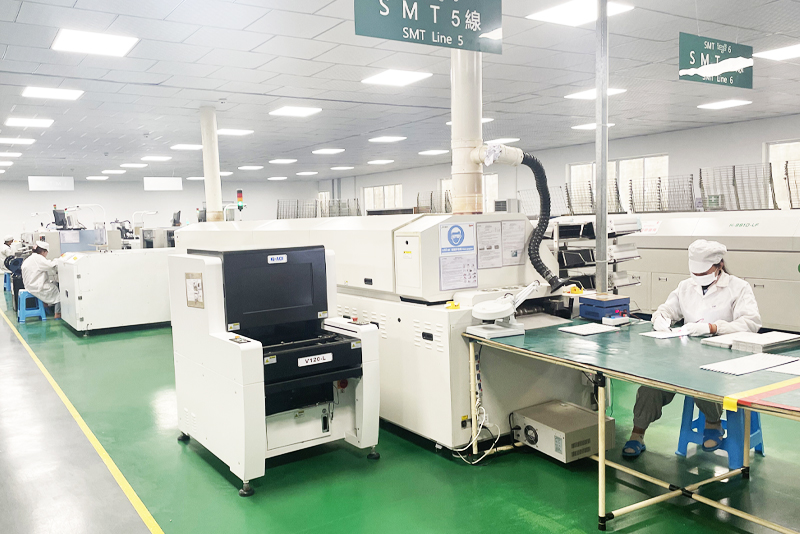
Company Profile
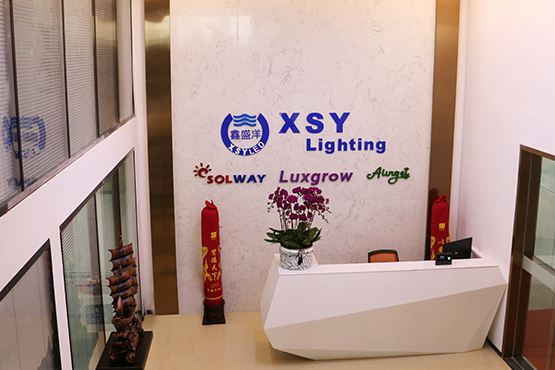
Company Profile
-
Enterprise Style
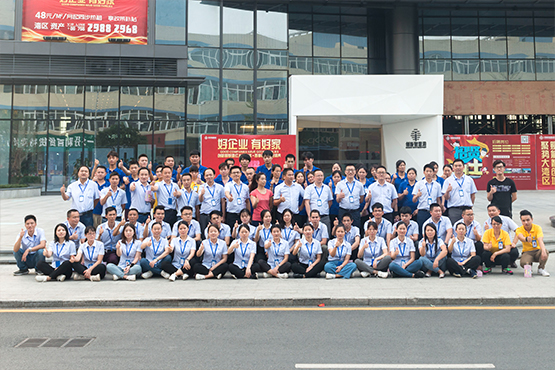
Enterprise Style
-
Certification
-
Company Honor
Certified Product
Product Patent

Certification
-
-
-
SKD solution
SKD solution
-
Solar IoT Management System
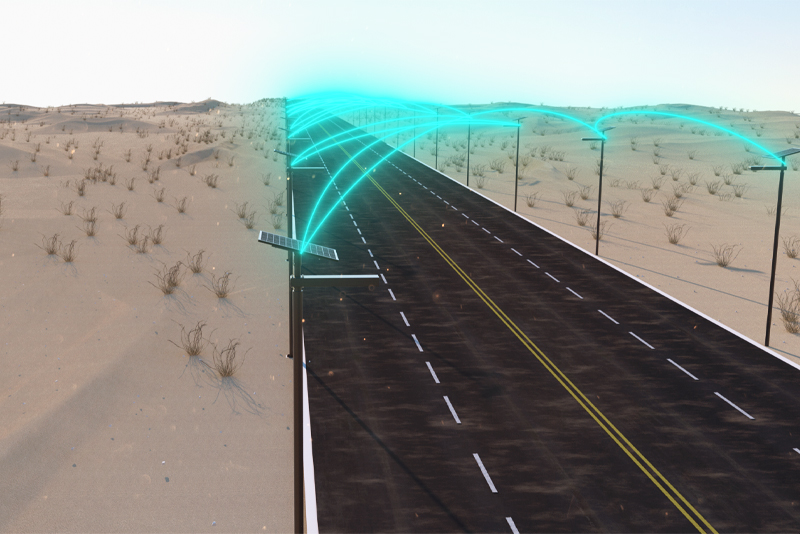
Solar IoT Management System
-
Solar-Grid Power Hybrid Solution
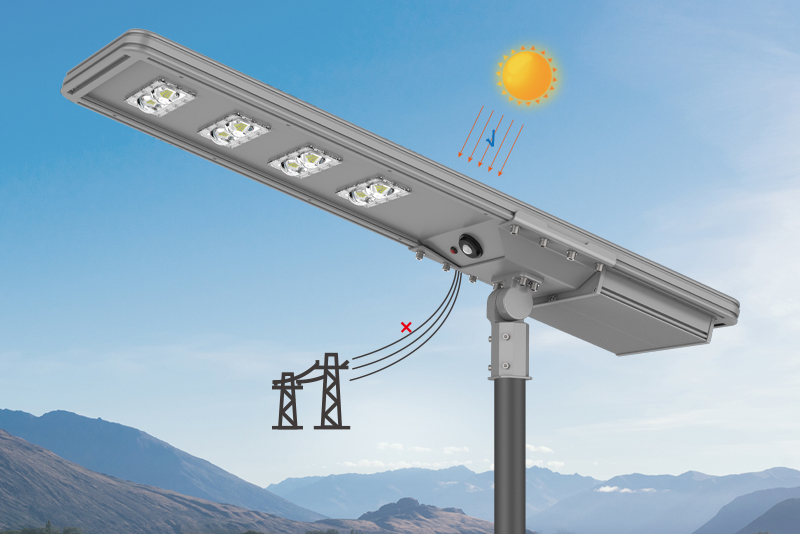
Solar-Grid Power Hybrid Solution
-
Cambodia Factory
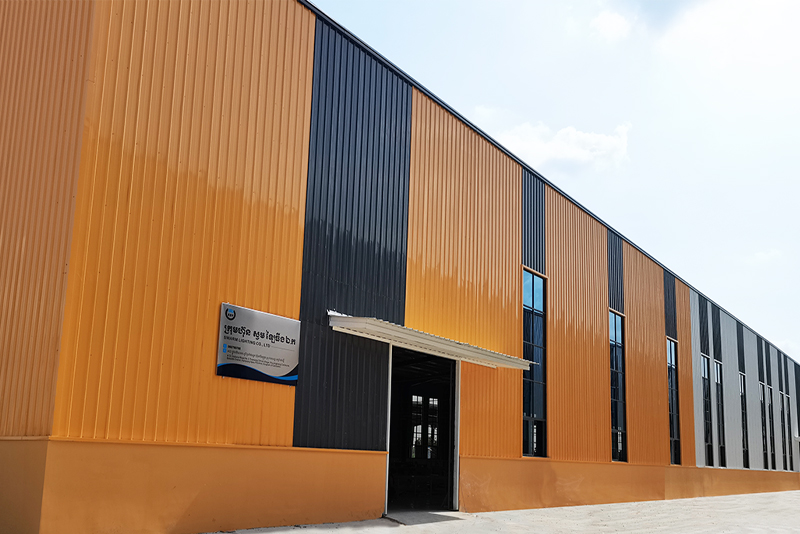
Cambodia Factory
-
-
-
Vertical Solar PV Poles Case
Vertical Solar PV Poles Case
-
Solar Street Lights Case
Solar Street Lights Case
-
Solar Garden Lighting Case
Solar Garden Lighting Case
-
Solar Light Tower Case
Solar Light Tower Case
-
-


 English


 Scan WhatsApp
 Scan Wechat
 Scan WhatsApp
 Scan Wechat
 Consult Now